Are you looking to create a VHS effect for your music videos, short films, or social media content? In this tutorial, you’ll learn how to make a VHS effect in DaVinci Resolve to add a touch of nostalgia to your video projects. We’ll dive into the powerful color tools and different effects from DaVinci Resolve, as well as an easier and more customizable alternative with Sapphire plug-ins.
Let’s dive in!
How to Create a VHS Effect in DaVinci Resolve
-
Step 1: Import Video Footage
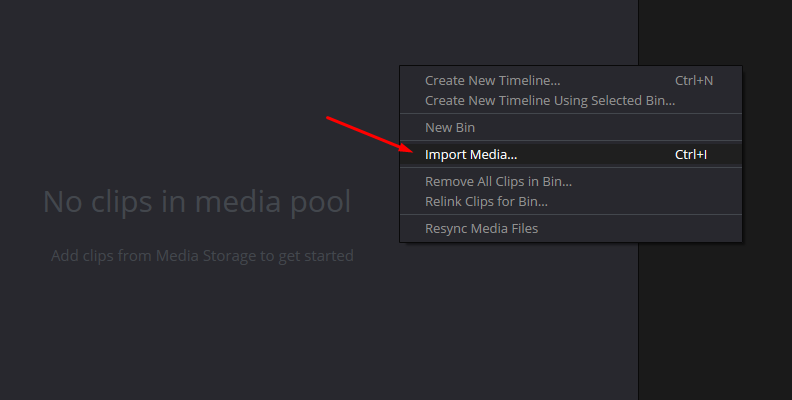
Create a new DaVinci Resolve video project and import the video files for your project. Drag all the clips that will be part of the sequence to the timeline and arrange them in the order you want them to play.
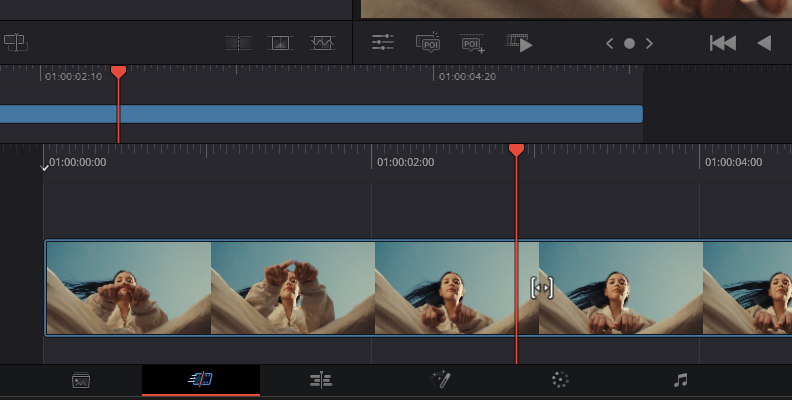
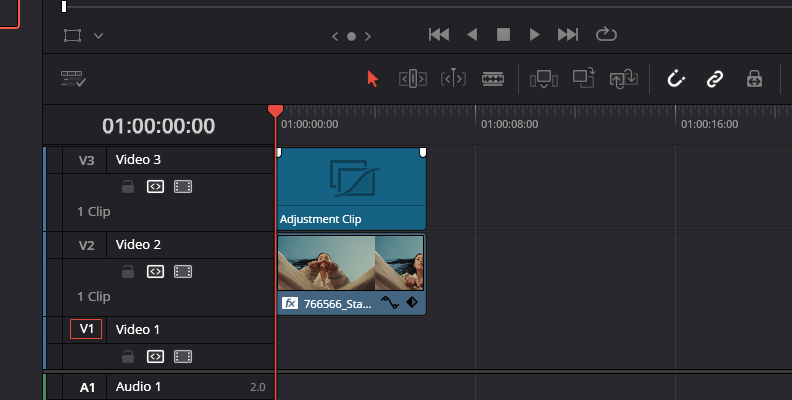
Trim and edit the video clips as you need to. If you'll be applying the effect to multiple clips in the timeline, add an Adjustment Clip. To add it, open the effects library and type “Adjustment Clip” in the search box.
-
Step 2: Color Panel
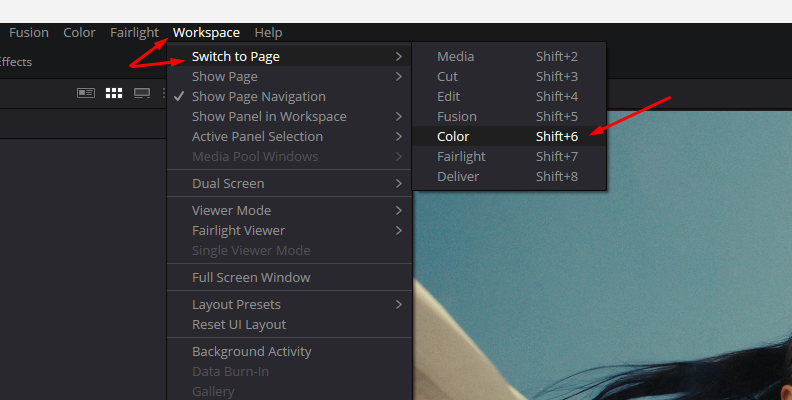
Switch to the color page by pressing the color tab at the bottom of the screen or by navigating to Workspace > Switch to Page > Color.
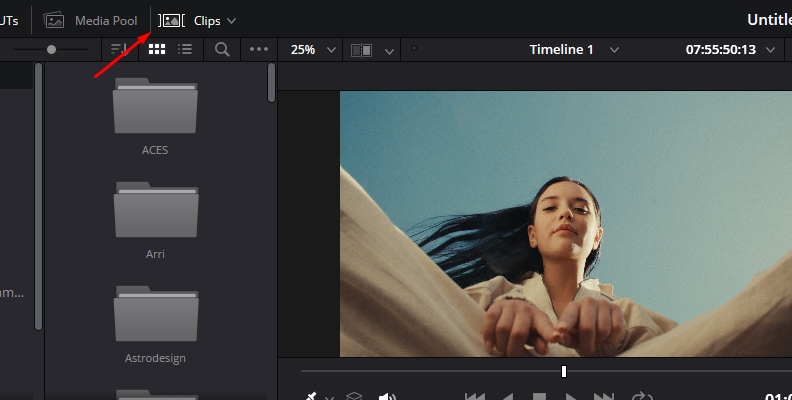
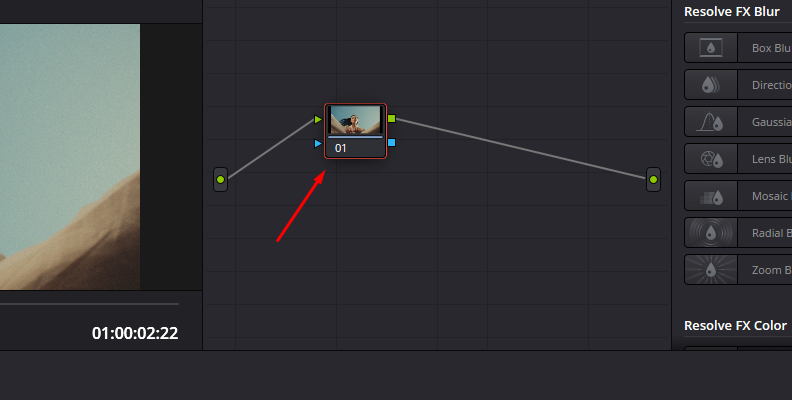
Select the node with the video clip you want to apply the VHS effect to. Click the Clips icon above the preview window to enable the Clips view and ensure you select the correct video clip.
-
Step 3: DaVinci Resolve Effects
You can add a VHS look by adding damage effects from DaVinci Resolve’s filter library. Display the Effects library by clicking the Effect icon in the top right corner, searching for “Damage,” and dragging the desired effect to the node.
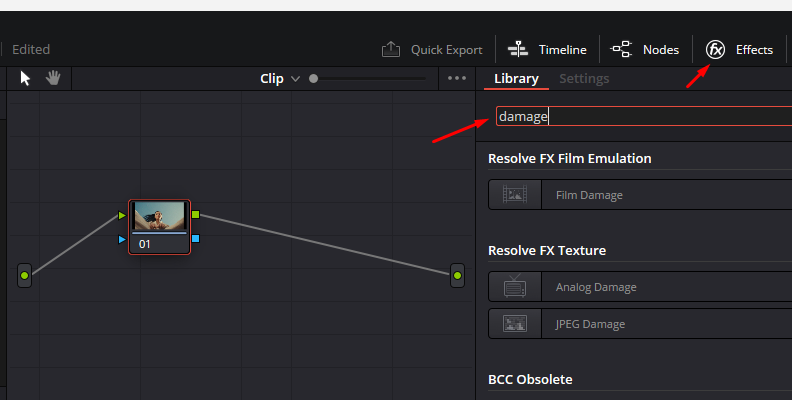
For DaVinci Resolve Studio users, there is the Analog Damage filter, which features a few presets and settings you can tweak to add scanlines, noise, jitter, and a vignetting effect. If you have DaVinci Resolve Free, there are other alternatives like Film Damage, but it creates a more vintage film look than VHS. Another effect you can experiment with is JPEG damage to lower video quality.
-
Step 4: Color Tab Tools
Once you decide on an effect, use DaVinci Resolve’s color tools to enhance the VHS effect. Add a new serial node and click the Sizing tab to modify the video's width to make it look more square. Add a new corrector node and connect it to the node tree. Now, you can experiment with the Curves and Color Wheels tools to adjust saturation and the global color temperature to achieve the oversaturated look of old videotapes.
To give it a final touch, you can add blur for a softer image, scanlines, vignettes, and other useful effects to create the VHS effect.
Create VHS Effect in DaVinci Resolve with Sapphire VHS Damage
Sapphire VHS Damage is a new addition in Sapphire 2025. This new filter adds a nostalgic analog tape effect to your videos to bring that 80s aura. The effect replicates the artifacts from VHS tapes, including chroma and luma degradation, noise, interlaced combing, and tracking errors.
The filter is easy to use, comes with presets for quick VHS effects, and is fully customizable to craft unique looks and store new custom presets. You can follow this tutorial with the Sapphire Free Trial.

-
Step 1: Import Video Files
Open or create a new project and import all the video files you want to edit. Drag the clips from the media pool to the timeline in DaVinci Resolve and arrange the sequence. You can apply Sapphire VHS Damage to a single clip or to multiple clips at once - but it's easiest to just to add an adjustment clip on a track above the clips if you'd like it applied to multiple clips. Go to the Effects library and search "Adjustment Clip," then drag it to the timeline on a separate video track.

-
Step 2: Apply VHS Damage
Go to your Effects library and search for S_VHSDamage in the OpenFX category.
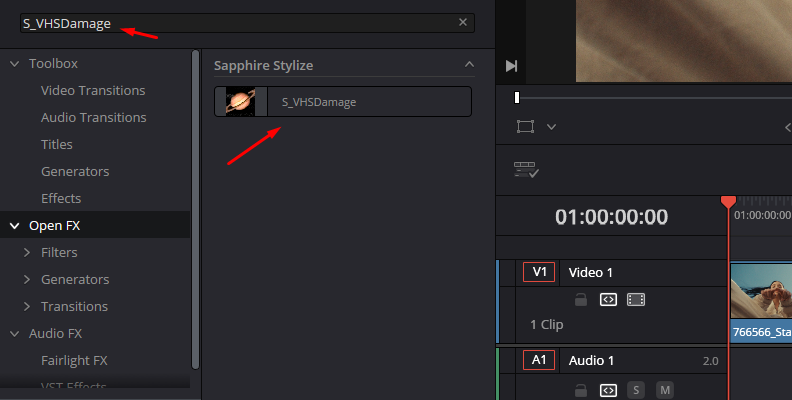
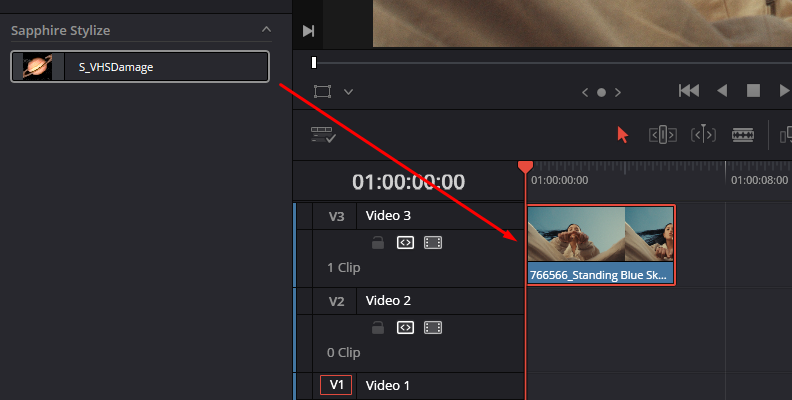
Drag the effect to the clip you want to apply it to or an adjustment clip if you're applying it to multiple clips in the timeline. The default setting will be applied automatically, so let's check what you can do with the filter.
-
Step 3: Browse Presets
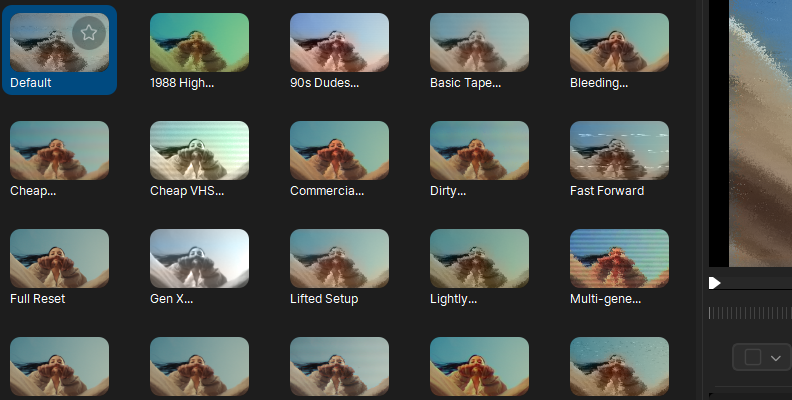
If you don't like the struggle of fine-tuning filters to achieve a desired look, VHS Damage can help you avoid that. Open the inspector tab and click the Load Preset button to launch the presets library, where you'll find all the pre-installed and future custom presets.

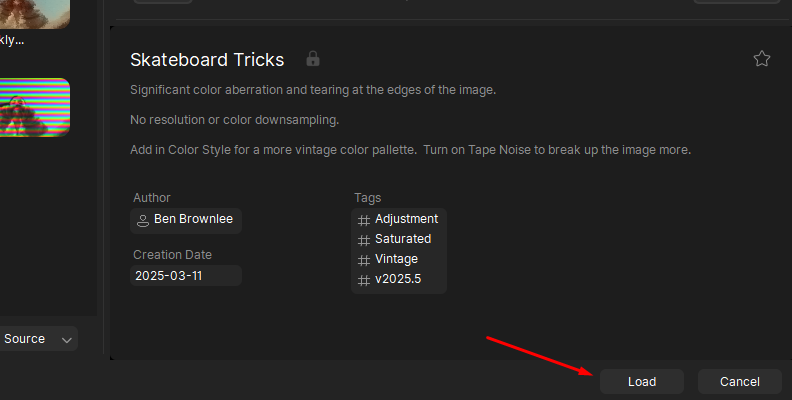
Click one to preview it, and then click Load to apply it.
-
Step 4: VHS Damage Settings
VHS Damage settings can be found in the inspector panel. You'll notice they are divided into modules with a group of parameters for each. This lets you tweak the effects and presets to create custom looks. Having this freedom can be daunting, and it's best to experiment with the filter, but let me guide you through a workflow you can follow as you become more familiar with Sapphire VHS Damage.
- Downsample Resolution. The first thing you want to configure is the downsample. VHS is known for its low-quality resolution, so aim for 720p or lower for retro VHS tape low-res video footage. You can enable Interlaced Combing to add more distortion.
- Color Style. Enabling the Color Style settings allows you to use VHS LUTs and combine up to two LUTs from the pre-installed four VHS styles. Adjust the LUT strength and Tint sliders to achieve a good-looking retro style.
- Color Downsample and Chromatic Aberration Video Files. Enable them to reduce the color resolution and add shifts and blurs to the chroma. You have sliders for Red, Green, and Blue chromas for Color Aberration.
- Color Bloom. It adds that old-school saturated look to the video.
- Tape Noise. Add the classic artifacts found on your vintage VHS tapes.
- Fast Forward Amount. This setting adds the band lines that appear when you fast-forward a VHS tape. You can control the band frequency and variation.
- Scanlines, Streaks, and Sparkles Details. They add artifacts to simulate CRT scanlines, vertical streaks, and dropout bands. Play with these settings and combine two or three to achieve a distorted, overused film damage look.
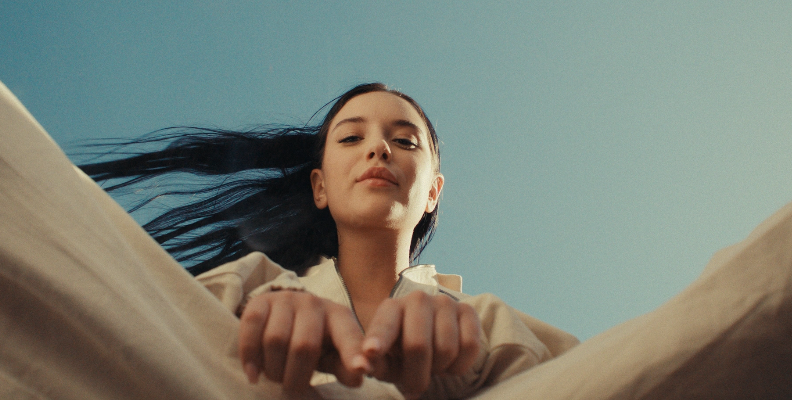
Before:
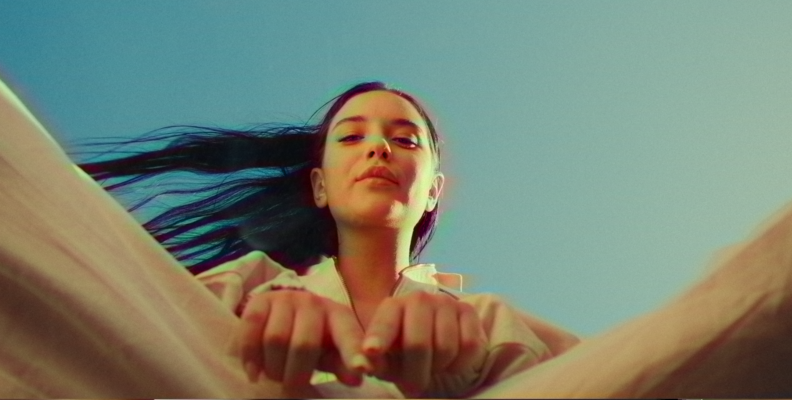
After:
Final Words
Sapphire VHS Damage is an incredible filter that's simple to use for beginner editors who want a quick VHS tape effect and easily customizable for professional video editors who enjoy tweaking every parameter. Play and experiment with all the VHS settings to create a subtle or heavy VHS damage look. Save your favorite looks as presets to keep them at hand the next time you need them.
Have fun!