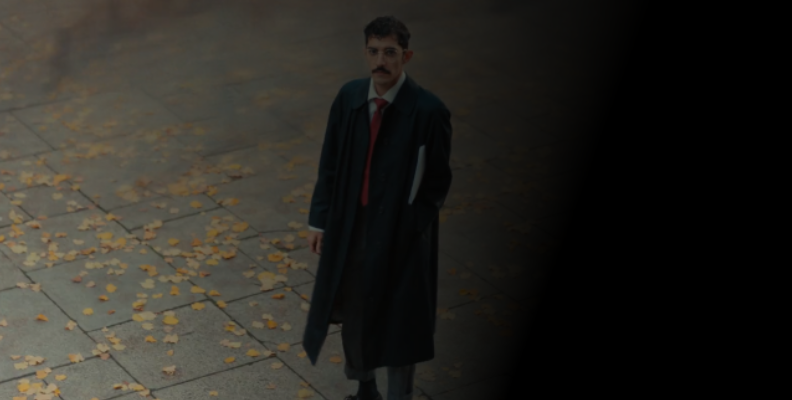
If you're looking for a quick and simple tool to selectively darken image or video to add depth that allows you to customize the selection, track the effect, and create presets, this article is for you!
In this tutorial, I'll show you how to darken a specific area of a photo using Boris FX Optics, and two built-in tools: the Burn tool in Photoshop and the Adjustment tool in Lightroom.
How to Darken Part of an Image with Optics ND Gradient
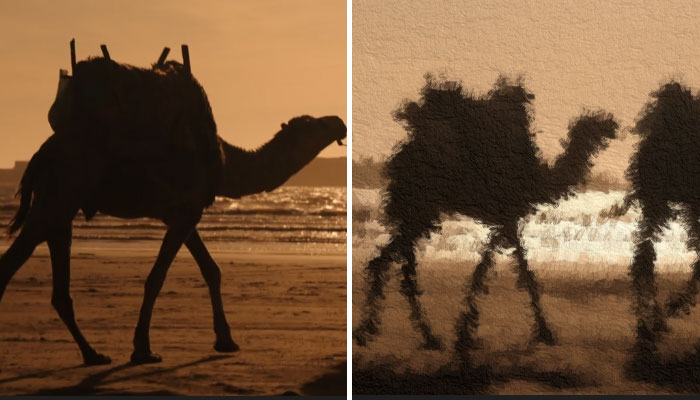
For this tutorial, you'll use ND Gradient as a darken tool, an Optics filter, to darken image in a specific area. It uses a gradient to transition from the darkened selected area to the original picture. Working with ND Gradient lets you apply darken gradients without worrying about color balance.
This darken tool selectively adjusts the brightness, making it ideal for backgrounds and landscape pictures where you must balance the colors between the ground and the sky or create the twilight effect.
-
Step 1: Download and Install Optics
ND Gradient is a filter included with Optics. You can also use this darken tool in Photoshop and Lightroom via the Optics plug-in. To install Optics, first download and install the Boris FX Hub. Log in or create a new account and find Optics in the product list. Click download and wait until Optics is installed.
With the installation, you’ll get the plug-in for Photoshop and Lightroom as well as the Optics standalone photo editor. You can start your free trial or activate a purchased license to follow the tutorial.
-
Step 2: Set Up a New Project
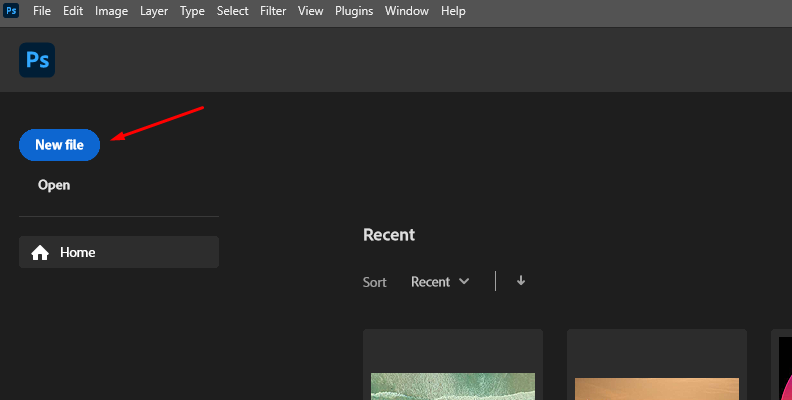
To start a new project using Photoshop, begin by creating a new document and importing the photos to darken image.
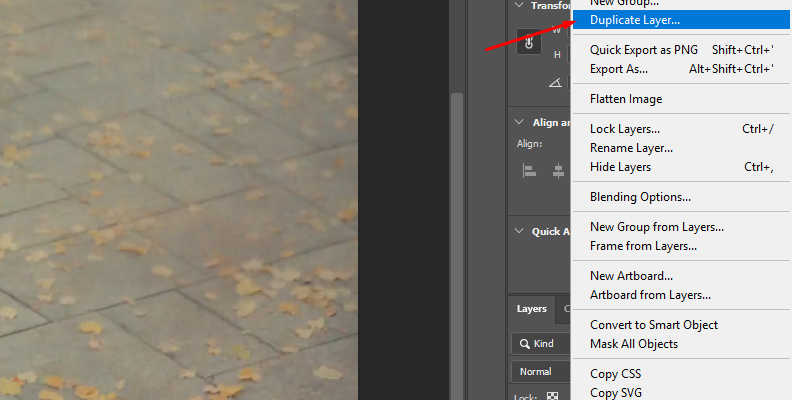
Duplicate the original layer just to be safe, then right-click the duplicate layer and select 'Convert to Smart Object'.

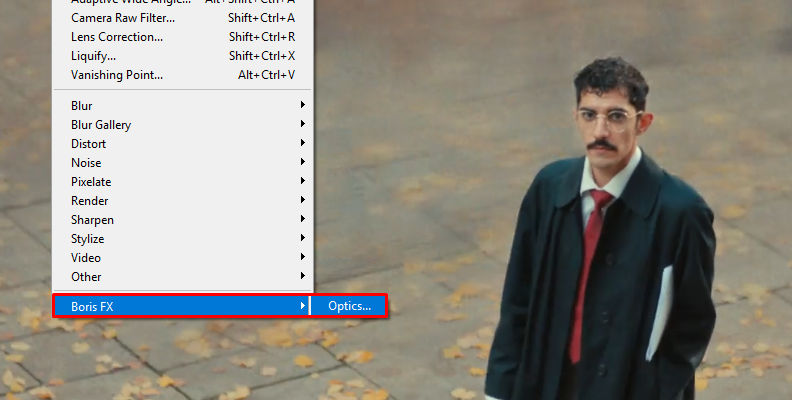
Go to Filter > Boris FX > Optics to apply the Optics plug-in. The Optics user interface will launch after using it.
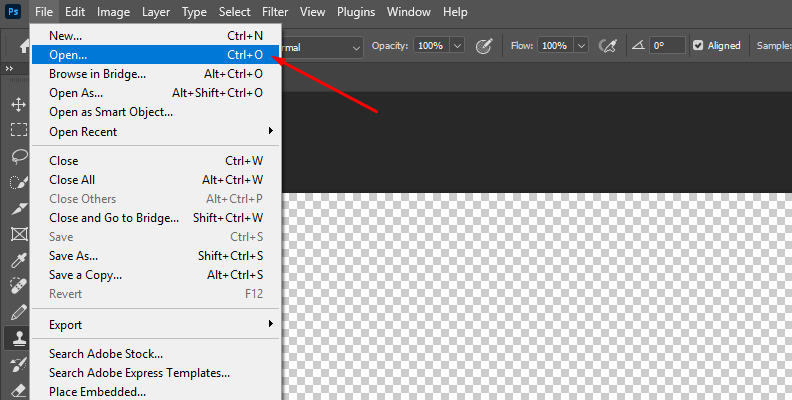
In Lightroom, import the photo you need to darken in a new project, go to the Photo menu, and select Edit In > Edit in Boris FX Optics to apply Optics and launch the UI.
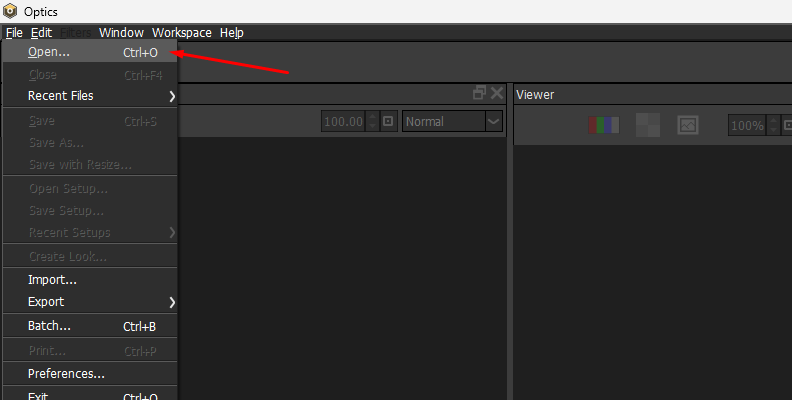
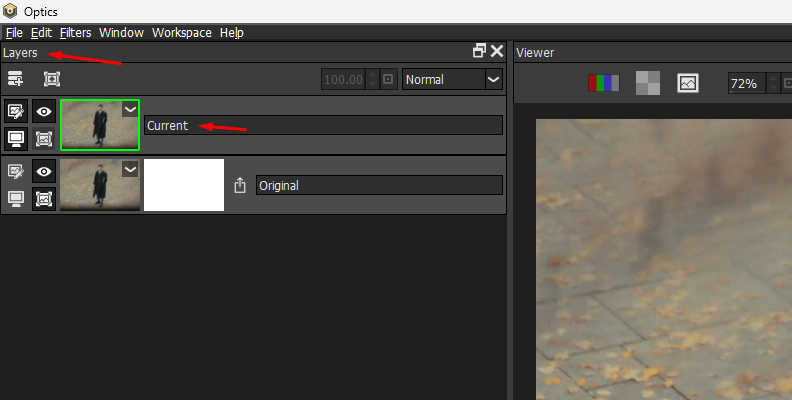
If you decide to use the standalone Optics app, simply click File > Open and search for the image that you want to darken specific areas. The photo will appear in the viewer with two layers in the layer panel.
The following steps are the same for both the standalone and plug-in versions of Optics.
-
Step 3: Apply ND Gradient Darken Tool
Select the ‘Current’ layer in the Layers panel and navigate to the Filters window, located below the viewer.
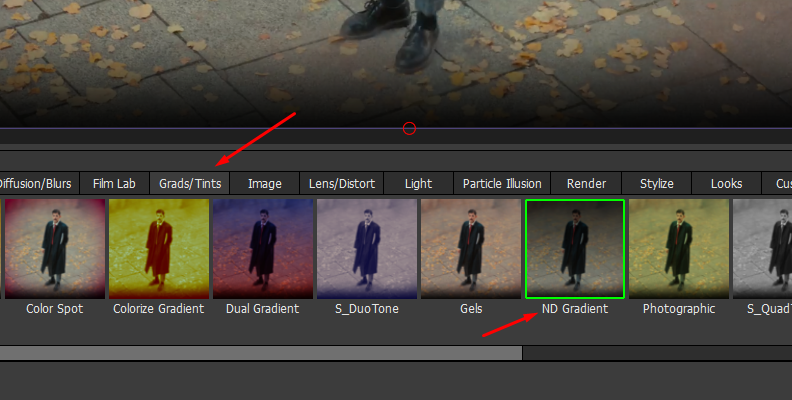
Switch to the Grads/Tint category and click the ND Gradient to apply it to the Current layer. You can also use the magnifying glass icon to search for ND Gradient.
The effect will apply to the picture with the default settings. Continue to learn how to edit the filter to get the desired darken image effect.
-
Step 4: Explore the ND Gradient Presets
When a filter is selected in Optics, the preset gallery displays below the layer panel on the left side of the screen. Click a preset to preview it in the window and apply it to the current layer.
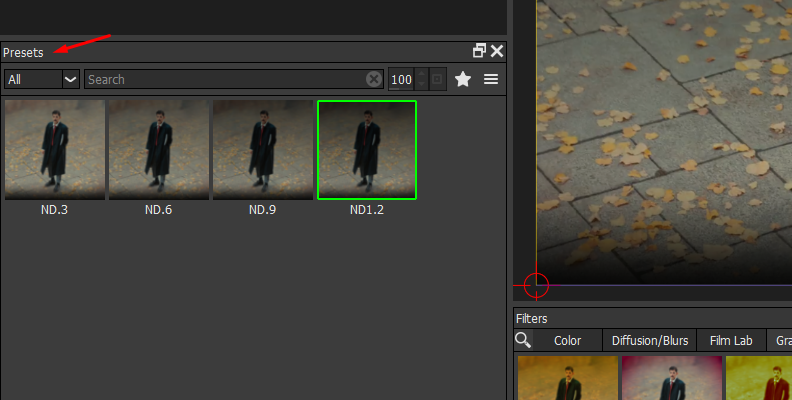
You can use presets to quickly darken images. All presets are customizable and can be adjusted to achieve the desired effect.
-
Step 5: Edit the ND Gradient Tool
To manually adjust the ND Gradient tool to darken image, go to the right side panel where the parameters for the filters are.
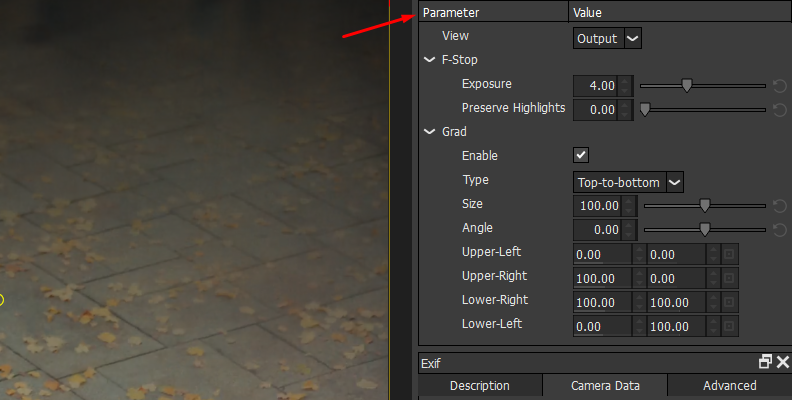
The first parameter is the F-Stop, where you can adjust the Exposure slider to darken the image. You can also change the Preserve Highlights slider to protect the lighter areas of the image.
The next step is to create a gradient that transitions between the darkened area and the rest of the image. Under the Grad settings, select the type of gradient and set its direction. You can also adjust the corners and size of the gradient.
Change the View from Output to Grad to see how the gradient looks as you edit it. You can modify the Size, Angle, and four edges to create original gradients to darken specific areas.
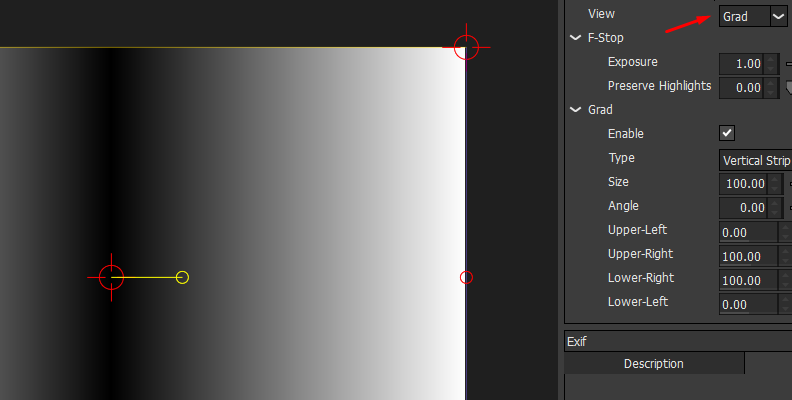
Change the View to Output to see the output image. You can modify the exposure to make the image lighter or darker.
What Tools Can Make a Portion of an Image Darker?
The next darkening tools are alternatives to the Optics ND Gradient to make a photo darker.
-
Adobe Photoshop – Burn Tool

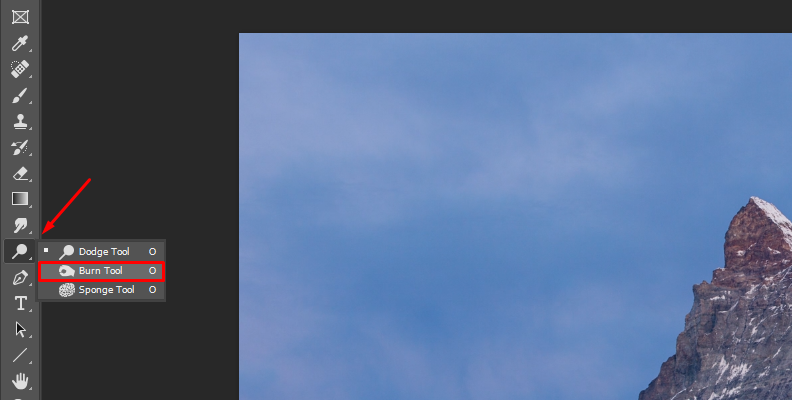
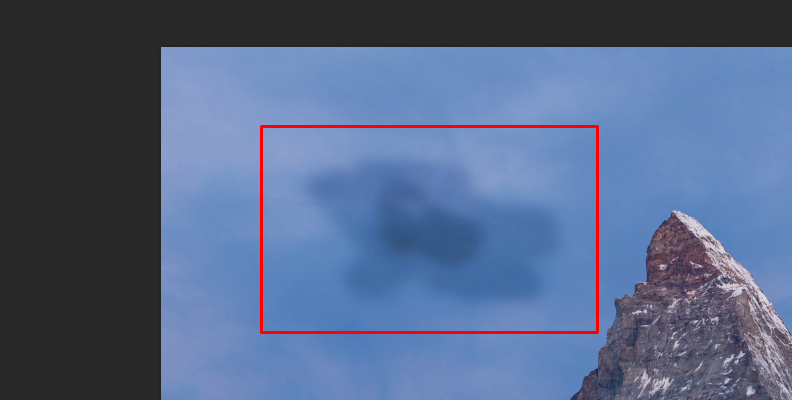
Photoshop is known for its wide-ranging tools for photography, graphic design, and photo manipulation. There are many options for you to darken image with Photoshop, but the Burn tool is a popular choice and an easy way to darken specific areas in a picture. The Burn tool's settings include midtones, shadows, highlights, exposure, airbrush mode adjustments, and more in the Options bar to protect the tones from clipping or shifting hue.
Use the Burn tool by selecting it, adjusting the brush size in the Options bar, and painting over the area. The more you paint the picture with the Burn tool, the darker the result.
-
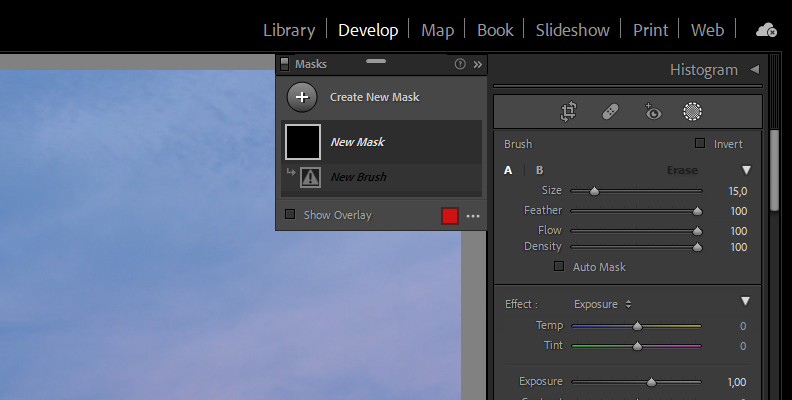
Lightroom – Adjustment Brush

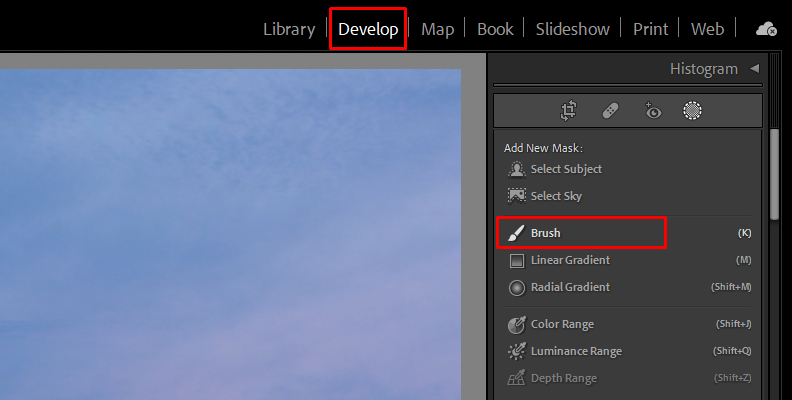
Lightroom is another popular application to edit photos with the tools and sliders in the Develop module for the entire image. However, Lightroom also offers an Adjustment Brush tool to make corrections to specific sections of an image, for example, to darken specific areas of the photo.
The tool can be selected from the Develop module. You can adjust brush size, feather, flow, exposure, shadows, contrast, and the rest of the sliders to get the darker tone you want.
Final Words
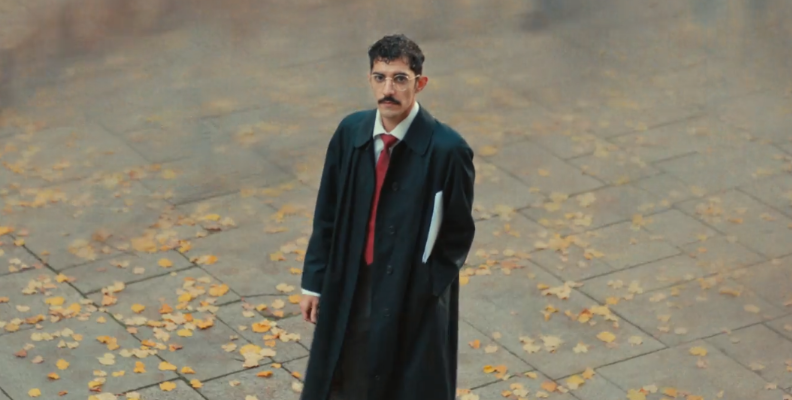
Now you know how to use a quick and creative image darken tool to apply a darkening effect to a photo, plus two alternative tools within Photoshop and Lightroom. With Optics, you have a powerful tool to enhance your images, providing an easy and unique way to develop your creative and photography skills, whether you use the standalone program or the plug-in version for Photoshop and Lightroom.
Good luck!