As image and video editing keep advancing, we see more options for changing how our content looks using modern tools and solutions. Some adjustments once deemed impossible are now just a few clicks away with the necessary skill and know-how.
In this guide, we'll focus specifically on image warping, what it is, its main use cases, types of image warping, and most importantly, how to image warp your content in the most time-efficient and user-friendly way possible using Boris FX Optics.
If you're willing to learn more on this topic, you've come to the right place, so without further ado, let's jump straight into it.
What is Image Warping?
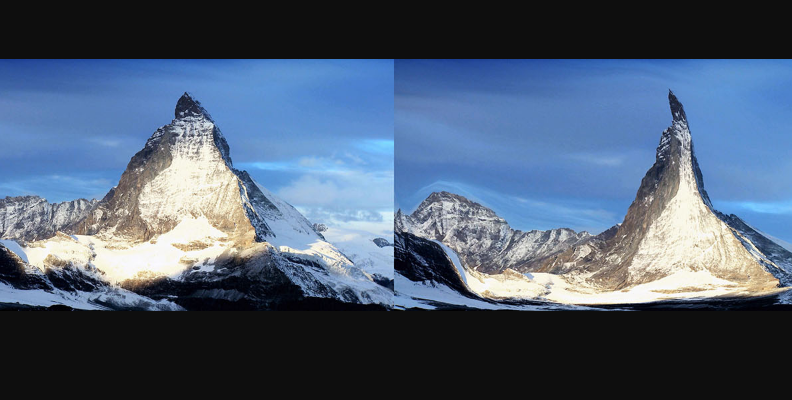
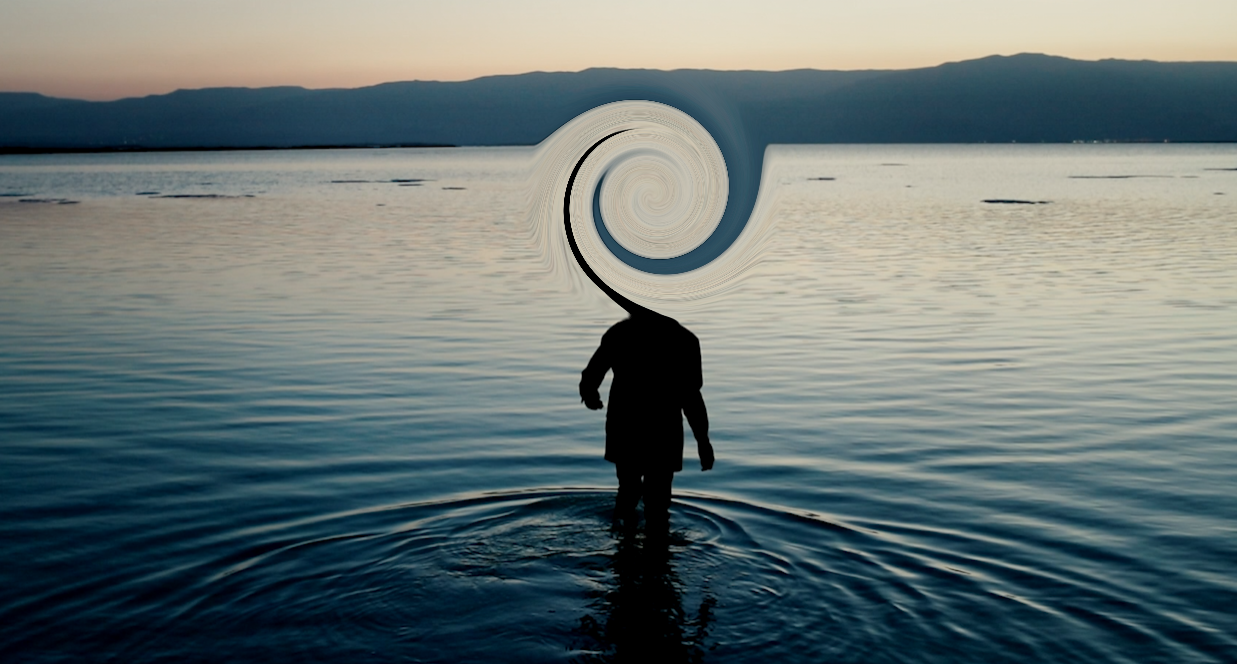
Image warping is a term we use to describe the process of distorting various elements or shapes within an image, sometimes up to a point where they look nowhere as close as they would if viewed with the naked eye, and sometimes only enough so that we can achieve a specific goal.
Most tools and programs we use to warp images and distort their shape and geometry rely on mathematical operations to remap the pixels to new positions.
We can use image warping to "fix" certain deformities or to artistically express ourselves through the creation of various distortions. We'll dive more into this in the "Types of Image Warping" section below.
With that said, if you want to warp an image, here's how to do it using BCC Warp in just a few clicks.
How to Warp an Image With Boris FX Optics
In this section, we'll show you how to warp images using Warp filters included in Optics, step by step.
Optics is a photo editing tool and plugin for Photoshop and Lightroom. With Optics, you have access to a plethora of tools for enhancing and fixing images, including color correction, grades, special effects, particles, image warping tools, beauty filters, and many other features.
You can download a free version of Optics from the official Boris FX website. You can try Optics for free for 14 days before you upgrade to a full license, it's a great way to try out other features without having to pay until you decide whether they're the right choice for you.
With that said, if you have Photoshop installed and Optics as a plug-in for it, you are ready to use the warp tool, so just follow along, and you'll know how to warp your images in just a few moments. Remember that once inside the Optics UI, the steps are the same for Photoshop, Lightroom, and standalone Optics.
Let's start!
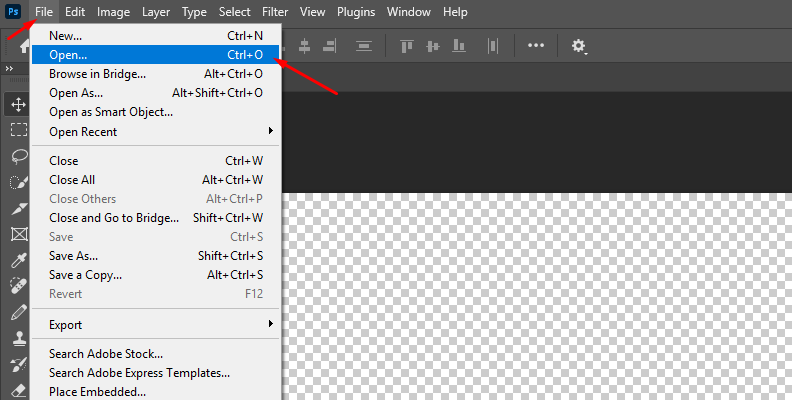
Step 1: Create a New Photoshop Document and Import Your Image
Launch Photoshop and click the "Create New" button to start a new document.

Import the image you want to use the image warping tool on from File > Open. If you want to import your photo into an existing document, use File > Place Embedded instead.
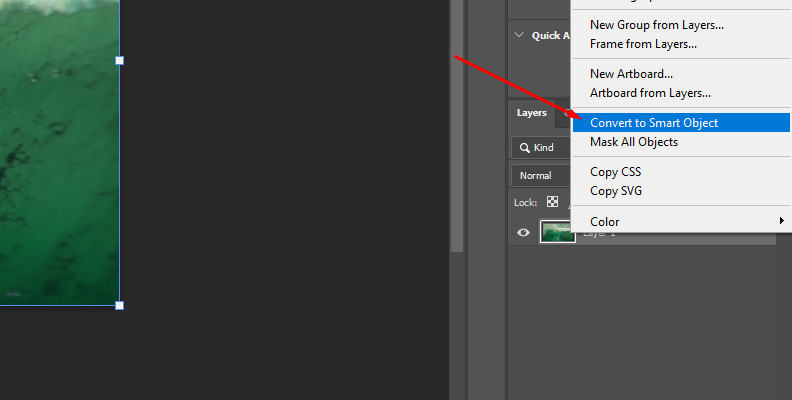
Step 2: Add Optics as a Filter
Select the layer with the image to warp and right-click it. Select the option "Convert to a Smart Object" to enable Optics to modify the image without affecting the original layer.
Go to the Filter menu, and click Boris FX > Optics to apply the filter to the photo layer.
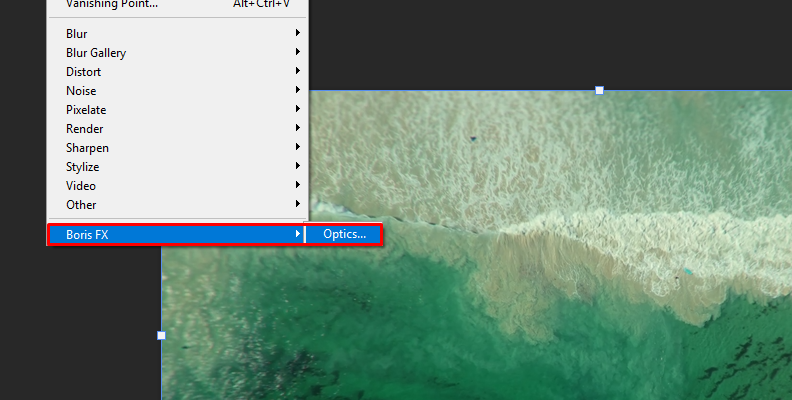
Once the Optics UI launches, you're ready to warp your photo.
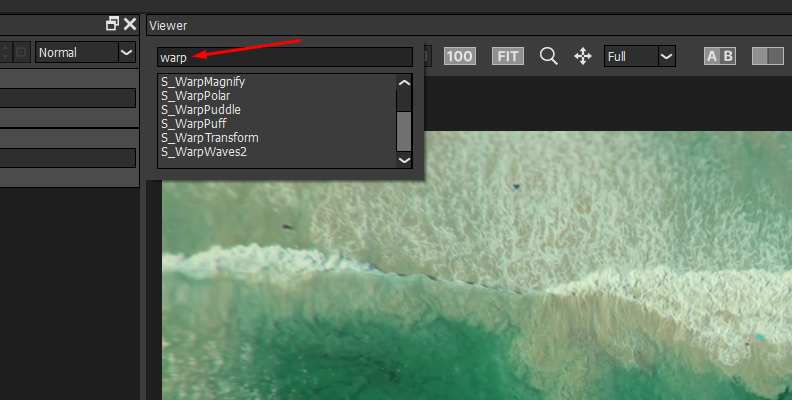
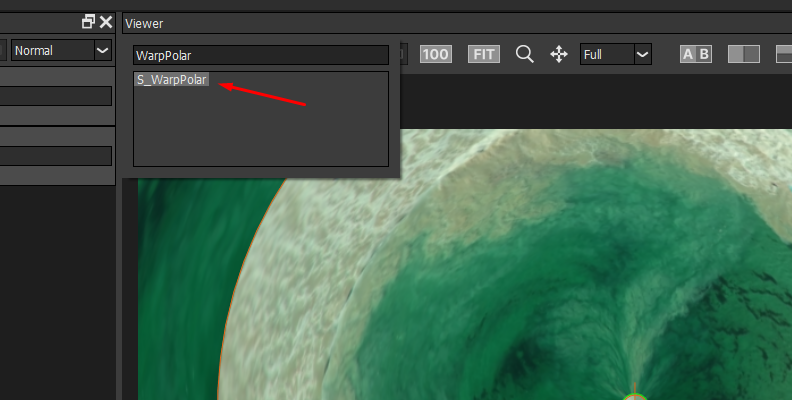
Step 3: Warping Tool
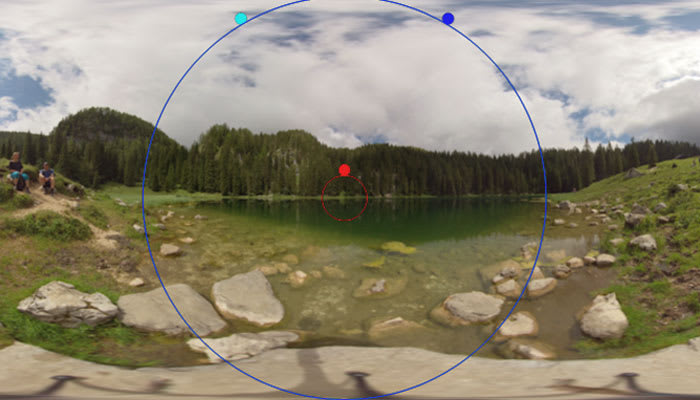
Optics features several Warping tools to transform and distort your photos. Among the most useful are S_WarpPolar, which warps the photo into a rounded disk, S_WarpWaves, which warps using overlapping wave patterns, and Pin Warp, which can warp a specific part of the photo using control points.
Select the Lens/Distort filter category below the preview window and browse for a Warp tool. When you select a filter, it will be applied to the current layer.
Step 4: Modify Parameters
All parameters for the warp filter are located in the right panel, and presets are on the left panel below the layers panel. For this example, let's select the S_WarpPolar filter.
In the parameters window, adjust the controls Angle to set the rotation of the warping, Center, and Stretch X & Y to scale the horizontal and vertical size of the warp effect.
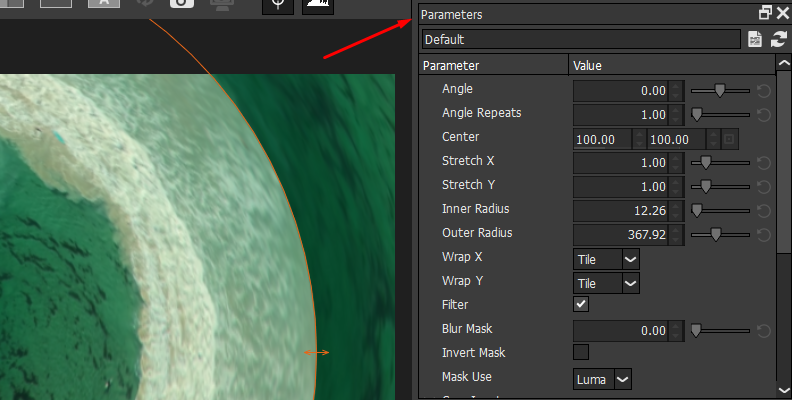
Feel free to get creative. You can do various abstract image edits using the warp effect.


Types of Image Warping
Image warping encompasses various types of transformations that can be applied to an image.
These transformations can be broadly categorized based on their mathematical complexity and the nature of the deformation they induce.
Here are the different types of image warping:
1. Affine Transformations
- Translation: Shifts the image in the x or y direction.
- Rotation: Rotates the image around a fixed point.
- Scaling: Changes the size of the image by stretching or shrinking.
- Shearing: Skews the image by shifting rows or columns.
2. Projective (Perspective) Transformations
- Changes the image to simulate a change in the viewpoint, making parallel lines converge and giving a sense of depth.
- Used in applications like correcting the perspective of a photographed document.
3. Non-Linear Transformations
- Radial Distortion: Corrects lens distortion, making straight lines straight again (e.g., barrel or pincushion distortion).
- Elastic Deformation: Applies complex, flexible changes, often used in medical imaging and facial recognition to align features.
4. Polynomial Transformations
- Uses polynomial equations to create smooth, curved transformations.
- Used to correct distortions in images where more control over the deformation is needed.
5. Thin Plate Spline (TPS)
- Provides a smooth interpolation between control points, often used in morphing applications to create smooth transitions between shapes.
- Ensures minimal bending energy, producing natural-looking warps.
6. Bilinear and Bicubic Transformations
- Bilinear: Uses linear interpolation along both axes, offering a balance between speed and quality.
- Bicubic: Uses cubic interpolation, providing higher-quality results at the cost of increased computational effort.
7. Homography
- Maps an image plane to another plane, preserving lines but not necessarily angles or lengths.
- Commonly used in panorama stitching and perspective correction.
Difference Between Morphing and Warping
Morphing and warping are both techniques in digital image processing that involve transforming images, but they serve different purposes and involve distinct processes.
Image Warping
Image warping is a technique used to distort or change the geometry of a single image. This process involves mapping pixels from one location to another within the same image, using various mathematical transformations. The purpose of warping can be to correct distortions, such as lens aberrations or perspective issues, or to achieve artistic effects by reshaping the image.
Key Characteristics of Image Warping
- Single Image Transformation: Warping modifies a single image without reference to another image.
- Mathematical Functions: Uses mathematical functions like affine, projective, or non-linear transformations to map pixel coordinates to new positions.
- Applications: Includes image rectification, texture mapping, medical image alignment, and artistic distortions.
Image Morphing
Morphing, on the other hand, is a technique used to transform one image into another smoothly. This process involves generating a sequence of intermediate images that gradually transition from the source image to the target image. Morphing combines warping and cross-dissolving (blending pixel values) to smooth transitions.
Key Characteristics of Image Morphing
- Dual Image Transformation: Morphing involves two images—the source image and the target image.
- Intermediate Frames: Generates a series of intermediate images to create the appearance of a smooth transition.
- Combination of Techniques: Uses warping to align features of the source and target images and blending to merge their pixel values.
- Applications: Widely used in animations, film special effects, and creating transformations in multimedia applications.
Differences
- Scope: Warping focuses on altering the geometry of a single image, while morphing transitions between two images.
- Process: Warping applies transformations to map pixel positions within one image, whereas morphing involves warping both photos and blending them to create intermediate frames.
- Purpose: Warping is often used for correcting distortions and achieving artistic effects, while morphing creates smooth transitions and animations between images.
In summary, while both techniques involve image transformations, warping deals with geometric modifications of a single image, and morphing creates a seamless transition between two images by combining warping and blending techniques.
Final Words
That covers everything that you need to know about warping an image, what it means to warp an image, the key differences between warping and morphing, and most importantly, how to warp an image in Photoshop using Optics.
Hopefully, this will help you with all your future work. We wish you the best of luck, and thank you for reading!
FAQ
In this section, you'll find answers to some of the most frequently asked questions about the image-warping topic.
Can you warp an image within Photoshop?
Yes, you can use Adobe Photoshop to warp an image. You'll need to launch the program, create a new project, import the image you want to warp, duplicate your original image layer within the layers panel, select the duplicated layer, and go to "Edit" -> "Transform" -> "Warp". From here, simply adjust the settings and parameters within the warp effect control panel, and when done, press Enter to save the changes and preview the warped photo.