


Recording 360-degree videos creates a stunning immersive experience for your audience. Today, we’ll dive into the immersive world of 360 footage, how to edit 360 video, and the best software to achieve the best results.
Let’s dive in!
What is 360 Video Editing?
360 video editing is the process of manipulating 360 video footage, an immersive video captured in a full 360 or spherical view using multiple cameras or specialized equipment with two or more lenses.
The process of 360 video editing involves managing a sphere of data, stitching footage, reframing, stabilizing, refining, and adding points and metadata at export to tell the platform or playback system that the video is in 360 degrees.
360 videos are used to create immersive footage for entertainment, virtual tours, event experiences, simulation, and education. There are two types of 360 video experiences:
- 360 footage is exported into a flat 16:9 video to create a 360 video with a fixed point or camera, where the viewer has no control over the camera. This type of 360 footage is the most common for vloggers and social media.
- 360 VR footage, which can be divided into two types:
- Monoscopic 360 video is a reframed video exported in flat or 2D for viewing on any screen. You can immerse yourself in this 360 video by navigating with a mouse when watching on a computer, or using your playback controls.
- Stereoscopic 360 video is a more immersive, true 3D format that adds depth and requires a VR headset to experience it fully.
360 Editing Workflow: Step-by-Step Guide
The editing workflows may vary depending on whether you're creating a flat reframed 360 video or a VR experience. For this guide, we’ll follow the general steps to edit a 360 video for a flat screen.
Step 1: Stitching
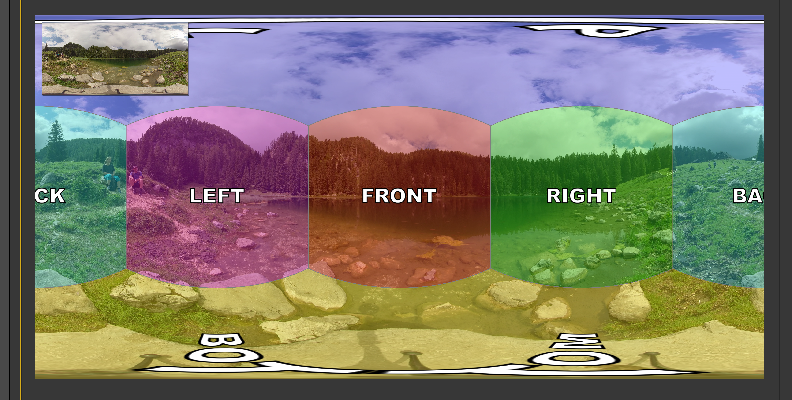
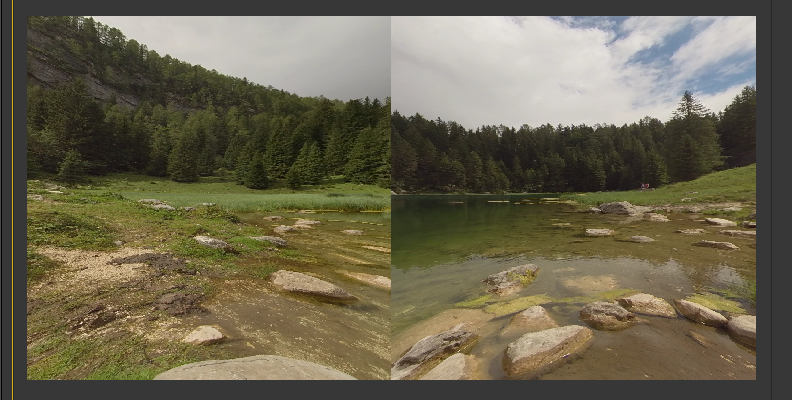
360 cameras have two or more lenses, so the RAW footage appears like multiple fisheye lenses. What you need to do first is “stitch” your footage to create a seamless view of the scene, removing unwanted objects and aligning the camera, then export it as a flat rectangle in equirectangular projection.
The usual workflow is to use stitching software before beginning 360 editing. Popular choices for this are Insta360 and GoPro Player. Still, today, many cameras have their own proprietary app that does this automatically and helps you add the 360 metadata that will tell your video editor the footage is 360.
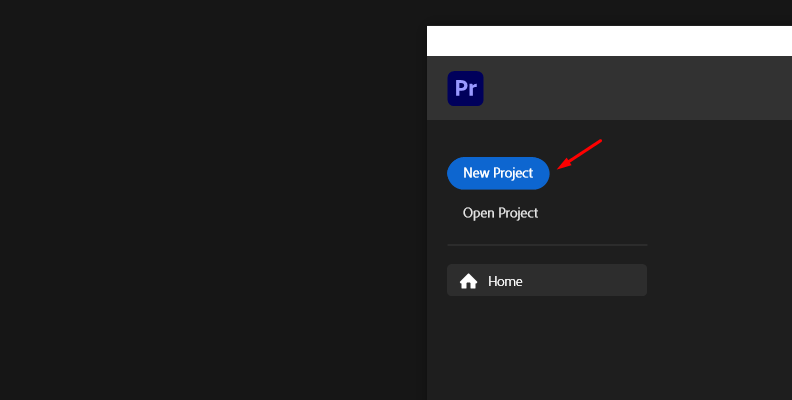
Step 2: Import Video
Once you have your RAW 360 video stitched and set up, you can begin video editing. Create a new project and import your 360 video footage into your video editing software, ensuring that it supports 360 video editing. For this tutorial, we’ll use the Continuum VR Unit to add VR effects, so make sure you have a host that supports Continuum and 360 video editing, such as Premiere Pro, DaVinci Resolve, or Vegas Pro.
Ensure the sequence setting matches the imported 360 video. If not, go to your project settings, select 360 options, and enable 360 or VR display.
Step 3: Edit 360 Video
Once you have the video on your timeline, you can start making basic edits such as cuts or trims, color corrections, etc.
Step 4: Continuum VR Unit
The Continuum plugin features VR units targeted for 360 and VR footage, allowing you to streamline post-production and editing of 360 videos and VR content right inside your supported host with real-time adjustments.
In your video effects library, search for “BCC VR” to find the five VR effects to enhance your videos.
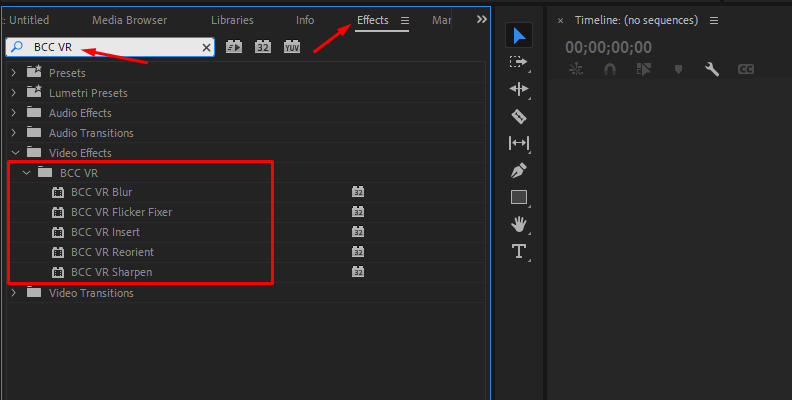
Click and drag the VR effect you want onto the clip in the timeline, then adjust its parameters in the effect control panel.
BCC VR Blur
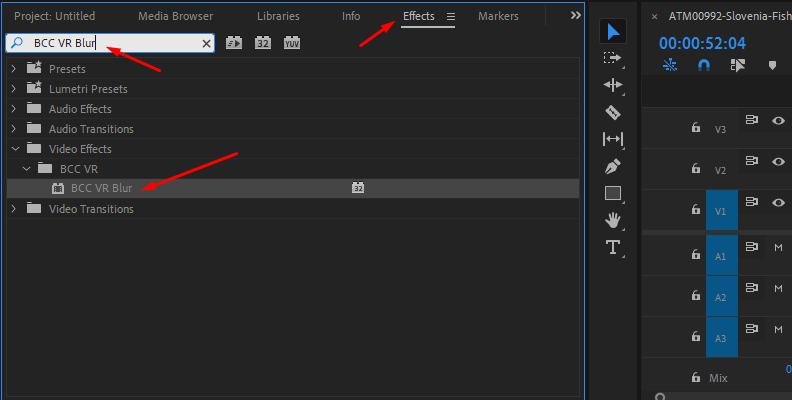
VR Blur is an out-of-focus effect that blurs scenes on equirectangular edges. The filter was carefully designed for 360 footage with 360 and VR awareness that processes pixels along the edges of the 360 scene, creating a more seamless look. VR Blurs offers the typical amount, horizontal and vertical blur controls to create realistic and fast camera movements. This filter is compatible with Mocha’s advanced masking, allowing you to fine-tune your blurring in specific areas.
BCC VR Flicker Fixer
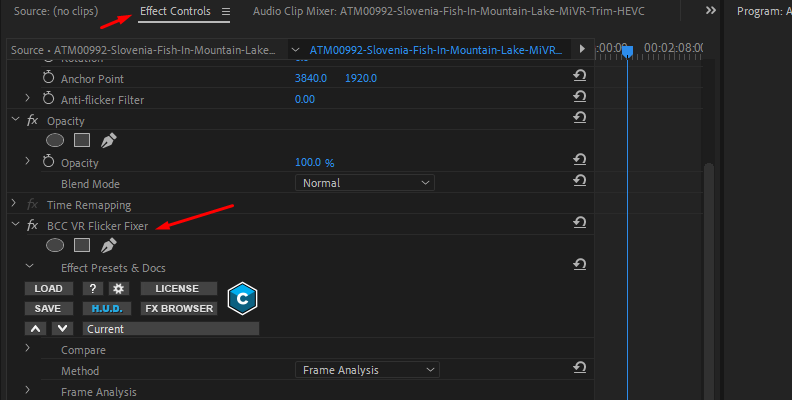
The VR Flicker Fixer effect is a one-click solution designed with VR awareness to eliminate flicker from your 360 and VR footage, offering three methods to fix uniform flicker, flicker that varies, or to process independent pixels when only part of the image is flickering.
BCC VR Insert
Use VR Insert to easily add titles, logos, or graphics to 360 footage. You can position the graphic in the 360 video, adjust the 3D rotation, animate the credits, and combine it with other Continuum filters, such as Primatte Studio, to composite a non-360 video with your 360 video.
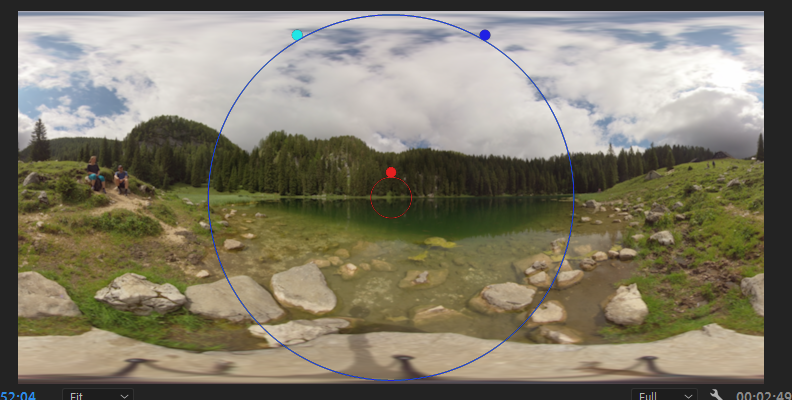
BCC VR Reorient
This filter will probably be your most-used one. It allows you to reorient your VR 360 footage in either mono or stereo in the X, Y, and Z axes to focus your viewers' attention on your storytelling. It offers a preview of a VR headset to emulate how the viewer will experience the 360 video.
BCC VR Sharpen
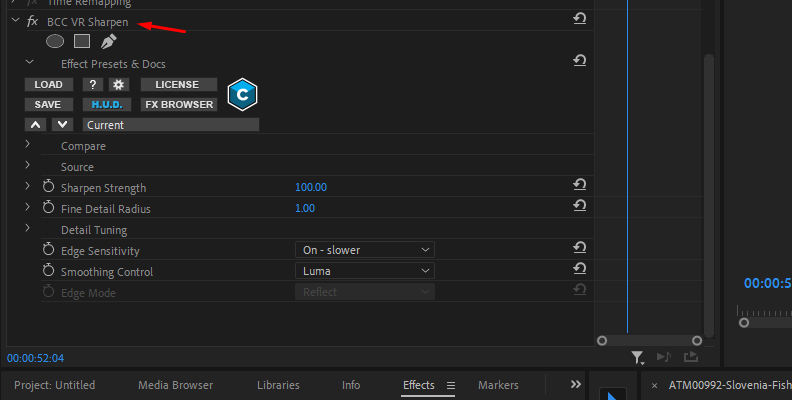
VR Sharpen uses algorithms to enhance image detail. It was designed for VR to minimize the artifacts associated with traditional sharpening tools. It features a useful compare mode that lets you compare the results with the original footage.
Step 5: Render
This last step is crucial, as you need to ensure the file keeps the equirectangular format. The render process may vary from software to software, but in general, you want to export the file as follows:
Resolution: 4K or higher.
Aspect Ratio: 2:1
Format: MP4 or MOV H.264 or H.265 (HEVC)
You also need to add the metadata. Some video editors, like Premiere Pro, offer export options that let you set a video for VR. If you use different software, you can use the tool Spatial Media Metadata Injector.
Best Software for 360 Video Editing
Now that you have a workflow guide, here is a list of the main 360 video editing software. Keep in mind that some of these software are not stitching software, which is required before editing.
Boris FX Continuum

Continuum is a professional suite of plugins with a dedicated VR Unit that focuses on solving problems with traditional effects in 360 videos, such as adding unwanted seams or distorted stitching lines. Provides advanced inserts for 360 and VR footage, reorientation, restoration, and blur and sharpen tools. Additionally, you get a plethora of filters for traditional video editing. It's supported by major video editing software.
DaVinci Resolve

DaVinci Resolve is a professional video editing software with 360 video support, advanced composition, audio editing, and unmatched color grading tools. A common companion for DaVinci Resolve is the KartaVR plugin for stitching, which can still be downloaded and installed, but it has ended its support.
Premiere Pro

The industry standard software for content creators, it offers robust editing tools and 360-degree video editing. It has a dedicated VR Video view for 360 videos. Still, many users prefer other plugins, such as Continuum or the GoPro FX Reframe plugin, over the native tools.
Final Cut Pro

If you use a Mac computer, especially one with M chips, Final Cut Pro is your best choice, as it is highly optimized for Apple silicon for editing and rendering heavy 360 video files. Final Cut Pro allows you to edit mono and stereoscopic 360 videos with an integrated 360 viewer and previewer for VR headsets. It features 360 compatible effects and 2D and 3D titles.
Insta360 Studio

This is an easy-to-use, free app primarily used for stitching as the first step in 360 video editing. However, it also provides basic editing tools and simple reframing. It’s a great choice for beginners before moving on to more advanced software on the list.
Final Words
Editing a 360 video can be complicated, but luckily, there are many options for editing 360 videos for users of all skill levels. I hope you find this guide useful and gives you a starting point for editing 360 videos. If you want a plugin to make 360 video editing and compositing easier, try Continuum for free and get the VR unit plus hundreds of other effects and presets.
Good luck!
FAQ
How do you upload a 360 Video to YouTube?
To ensure YouTube or other platforms recognize the video as a 360 video, you must render your file with the recommended settings (4K resolution or higher, 2:1 aspect ratio, MP4/MOV H.264/H.265) and include the 360 metadata, either through your video editing software or by using tools such as Spatial Media Metadata Injector. Once you have the file, upload it to YouTube as usual, and it will automatically detect it as a 360 video.


