Creating music is one of the best ways to express yourself, and in modern times, it can be turned into a very prosperous career path, too. Thanks to the growing popularity of streaming platforms such as SoundCloud, Spotify, and others, presenting your music to other listeners has never been easier.
Suppose you're just starting to learn basic music theory, mixing, mastering, working in a digital audio workstation, and everything else needed to become a successful producer. This guide provides instructions and tips that should help you hone your music production skills and help with all your future projects, and we're more than excited to present it to you.
Beginner producers should focus on making their intent for the track clear, finding the right DAW and mastering its features, building strong fundamentals like proper sound selection and session organization, learning that less is more, using reference tracks from their genre, and finishing songs that they'll seek feedback on to improve further.
These are all things we're about to cover, so without further ado, let's get into it!
10 Best Music Production Tips for Beginners in 2026
In the section below, you will find 10 tips that are helpful both for complete beginners and for those who have some experience with music production. Overall, following these tips will serve you well throughout your entire music-creating journey.
If you're looking to improve as a music producer, or you have decided to just now step into the music industry for the first time, we suggest going through each of these carefully, and we guarantee they'll put you on the right track.
1. Start with Intent: Know What You Want Your Track to Be

Every great track begins long before you even open your DAW. Beginners often rush straight into choosing sounds or clicking random notes onto a piano roll, which usually leads to unfocused ideas that go nowhere.
Before you begin producing, spend a moment thinking about the track's identity and your creative aspects. What emotion do you want it to express? What genre or subgenre are you aiming for? Who is the listener you imagine pressing play? These questions directly influence your tempo, your sound selection, your chord progressions, and even how you structure the arrangement.
Working with intention provides clarity, making music production, songwriting, and arrangement more intuitive.
Instead of scrolling through thousands of presets, narrow your search to the textures that belong in the world you're trying to create.
A simple exercise for beginners is to define your track in one or two sentences before you begin. Something like: “A driving, energetic house track with a nostalgic melody and a warm, analog feel.” Or: “A mellow lo-fi beat centered on soft keys and dusty drums.” This isn’t final, and you can evolve as you create, but it gives you a map. Production becomes much easier when you know the destination.
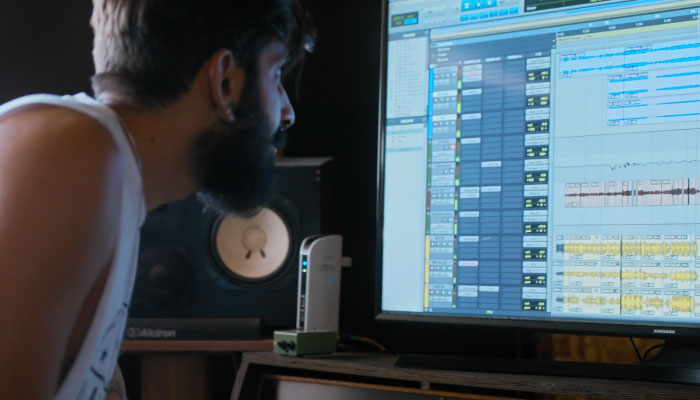
Another important thing about intent is that it helps you choose a suitable DAW (digital audio workstation) for your project. In general, almost every modern DAW is suitable for all genres of music production, but some are considered better than others for specific types of work.
For example, in the music production community, Ableton is known as a top choice for electronic music, while FL Studio is used the most for hip-hop. Again, you can create something from all music genres in every modern DAW; it's just that some can be slightly more intuitive for a specific production process tied to a specific genre.
You can always, especially as a beginner, opt for a well-rounded, easy-to-use DAW such as Samplitude by Boris FX that can cover the entire process from composing to mixing and mastering, so that no matter what genre you go for, you will find the required tools to produce professional-sounding music from start to finish.

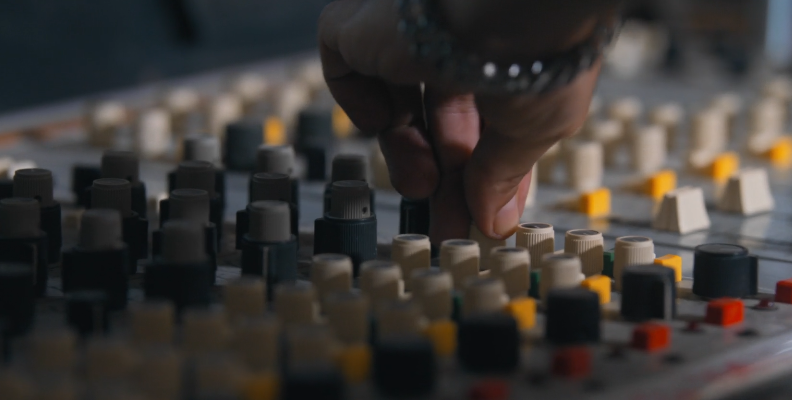
2. Keep Your Session Organized from the Beginning

An organized project might not sound like an artistic priority, but workflow and creativity are deeply connected. When your session turns into a chaotic mess—unlabeled tracks, random colors, missing samples, five kicks layered without purpose—you end up slowing yourself down and increasing frustration. Clutter makes you second-guess decisions, and beginners especially benefit from clarity.
Start by naming each audio track. “Kick,” “Snare,” “Main Bass,” “Pad,” “Lead,” and so on. Then color-code your groups in ways that feel intuitive: drums one color, bass another, and musical instruments another. Grouping tracks is helpful because you can apply processing to an entire family of sounds at once. Grouping also keeps the project visually tidy and makes it easier to navigate your own work.
Learn keyboard shortcuts for your DAW of choice so you don't see this as a chore that takes too long. Also, make sure to stay up to date with the latest changes for your DAW, as new updates often include features that make organization and overall workflow easier.
Another part of organization is gain staging. This means keeping track of volume levels so your project doesn’t become a distorted mess. If everything is too loud, you'll end up fighting your mix later. Get into the habit of lowering the volume of new tracks instead of increasing it. A clean, consistent workflow reduces fatigue, helps you understand your mix better, and keeps your creative vision clear without technical obstacles interrupting your process.
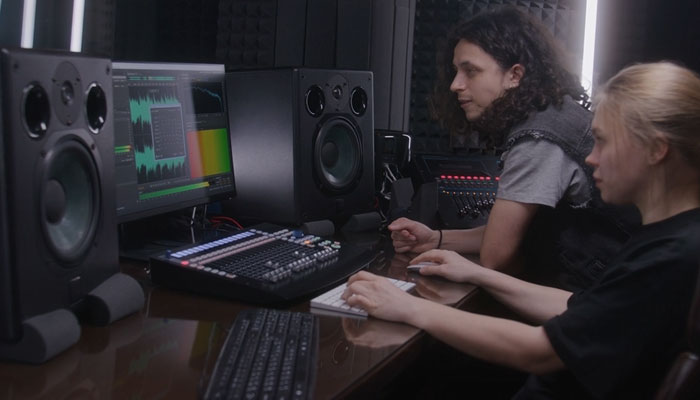
Good organizational habits also prepare you for working with other producers, collaborators, and engineers in the future. Nothing impresses a mixing or mastering engineer more than receiving a session that is tidy, clearly labeled, and logically structured. These habits are underrated, but they form the backbone of efficient music production.
3. Use Reference Tracks

One of the most powerful and underrated tools a beginner can use is the reference track. Many new producers avoid referencing because it feels like “copying,” but in reality, every professional production studio and all successful music producers use references. References give you a real-world anchor for decisions about tonality, arrangement, sound selection, and loudness. They instantly reveal what your track is missing.
Choose a few professionally mixed songs in the style you’re aiming for. Import them into your DAW and level-match them to your project so they’re not drastically louder. Then compare key elements: How loud is the kick drum compared to the sub bass? How bright is the lead sound? How sparse or dense is the arrangement? Listening to a reference next to your mix resets your ears and helps you identify weaknesses you would otherwise overlook.
Beginners often create mixes that are either too muddy, too bright, too empty, or too crowded. A reference track instantly tells you where you are on the spectrum. It also accelerates your learning: you begin to intuit how strong tracks are structured, where transitions happen, and what level of energy each section should deliver.
Think of references like studying the work of painters when learning to paint—nobody expects you to reinvent every technique from scratch. With regular use, references become a reliable compass that guides you toward more professional results.
Another mistake beginners make is immediately thinking that not owning the most expensive studio gear, such as studio monitors costing tens of thousands of dollars, is what's holding them back, when in reality, some very popular hits were made in barely equipped home studios and "poor" circumstances.
Having expensive studio monitors will help with more accurate sound monitoring compared to laptop speakers, and acoustic panels and proper acoustic treatment will help with sound reflections and overall clarity, but skill, fundamentals, and experience matter more than expensive gear, especially at the start.
You'll definitely upgrade as you go if you decide that you're going to pursue this journey more seriously, but you should do it gradually and only when your skill really surpasses the equipment you have.
4. Focus on Gain Staging and Balance Before Plug-ins
Every beginner is tempted by plug-ins. New EQs, compressors, saturators, magical “one-knob” processors—it's easy to think the next purchase will be the one that makes your tracks sound professional. But the truth is that 80% of a good mix comes from volume balance, panning, and overall gain structure, not plug-ins.
When all your sounds are fighting for space, turning things down will often solve the problem faster than adding an EQ or compressor. A well-balanced mix already sounds close to finished before any heavy processing. Start by leveling your drums, then your bass, then your main musical elements. Keep your master bus free of clipping and aim to leave plenty of headroom.
Panning is another simple but powerful tool. Beginners often overlook how stereo width contributes to clarity—wider elements create space for centered instruments like the kick and bass. For example, kicks, snares, bass, and lead vocals typically stay in the center; hi-hats, shakers, pads, and background elements can be panned left or right to create space. These kinds of decisions are what separate professional music from amateur projects.
After your track sounds balanced through volume and panning alone, begin using EQ to carve space or compression to control dynamics. But don’t use plug-ins reactively—use them intentionally. The best producers know that less processing, applied purposefully, leads to cleaner and more emotional mixes. Learning to rely on fundamentals rather than gadgets is what transforms beginners into confident producers.
5. Sound Selection Matters More than Sound Processing
If you start with a weak sound, no amount of processing will make it truly great. Beginners often try to fix a bad kick with layers of EQ, saturation, and transient shaping, instead of simply choosing a better sample from the start. Sound selection is the foundation of good production.
Take your time browsing presets and samples—especially for drums and bass. Modern sample packs and synth preset libraries offer professional quality from the start. Choosing strong sounds that already fit your vision reduces your workload dramatically. Using MIDI keyboards while browsing presets can also help you quickly feel which sounds match the emotion or groove you're aiming for.
Producers like DJ Premier built entire careers on selecting the right sounds—his drums, samples, and textures are instantly recognizable because every element is chosen with purpose.
Pay attention to how elements complement each other. A warm, round bass works well with a sharp, punchy kick. A wide, lush pad leaves room for a narrow, centered lead. If every element has the same texture or occupies the same frequency range, the track will sound cluttered no matter what you do.
A good rule for beginners: if you find yourself aggressively EQ-ing something to make it work, consider replacing the sound instead. Sound selection saves time, improves quality, and reduces frustration.
6. Keep Your Arrangements Simple and Clear

One of the most common beginner mistakes is overcomplicating the arrangement. Many new producers chase the idea of creating a "unique sound" by adding five melodies, three basslines, endless FX, and constant variation, thinking it will make the final sound more interesting. Truth is, in a successful, polished track that sounds great, every element added serves a purpose, and nothing distracts from the main idea.
Try to build your arrangement around one or two key motifs. Everything else should support them. If your melody is strong, you don’t need eight counter-melodies. If your vocals are powerful, you don’t need a hyper-busy instrumental behind them. A "signature sound" seldom means a song cluttered with elements.
A great exercise is to mute parts of your project regularly. If the track still works without a certain layer, it may not be necessary. Stripping away the excess often reveals a cleaner, more emotional core, but it's hard to notice this without taking frequent breaks from hearing your own mix a hundred times.
When you reach the so-called "ear fatigue," you cannot get a solid grasp on what sounds good and what doesn't. In such times, it's helpful to listen to other artists' work and return to your creative process with fresh ears to see what they did differently that works better for your specific genre.
Study arrangement structures in reference tracks. Notice how long intros are, when the bass enters, how buildups work, and when transitions happen.
7. Learn the Basics of EQ and Use Subtractive EQ First
Equalization is one of the most essential tools in music production. Unfortunately, it's also one of the most misused by beginners. Many new producers boost frequencies aggressively to make sounds “bigger” or “brighter,” which often leads to harshness or muddiness.
A better approach is subtractive EQ. This means removing problem frequencies instead of boosting others. Cutting unnecessary low frequencies from pads, leads, and vocals creates space for your kick and bass. Softly reducing “boxy” mid frequencies from drums can make the mix feel clearer. Subtractive EQ helps clean up overlapping areas in the frequency spectrum, especially when multiple instruments fight for the same space.
Another powerful technique is high-passing non-bass elements. Pads, plucks, vocals, and FX often contain low-end rumble that isn't noticeable on its own but cumulatively makes a mix muddy. A gentle high-pass filter keeps the low end clean and punchy.
Remember that EQ should be done with intention. Don’t sweep randomly or copy settings from tutorials. Listen critically and identify what each sound actually needs. Over time, you’ll develop an instinct for mixing decisions, and EQ will become a creative tool rather than an intimidating technical one, leading to better, more polished sound.
8. Learn to Use Reverb and Delay Without Overdoing It

Spatial effects like reverb and delay can transform a flat mix into a spacious, atmospheric environment—but beginners often overuse them. Too much reverb can wash out the mix, reduce clarity, and make everything feel distant. Too much delay can clutter the rhythm and create a confusing soundscape.
A good principle to follow: use reverb and delay to create depth, not volume. They should sit behind the dry sound, adding dimension rather than dominating the mix. Start with short decay times and low wet/dry percentages. If your mix feels muddy, it’s often because your reverb tail is too long or overlaps with other instruments.
Using sends (aux tracks) instead of inserting reverb directly onto each channel is also a foundational skill. Sends allow multiple tracks to share a single reverb space, which creates a coherent sense of environment instead of a patchwork of different rooms.
Remember: clarity comes from restraint. Subtle reverb and delay choices contribute far more to a professional sound than excessive ambience.
9. Don’t Mix and Produce at the Same Time
Beginners often fall into a trap where they produce a few bars, then switch to mixing, adjusting EQ, adding compression, tweaking effects, return to composition, and then back to the mixing process again. This constant back-and-forth kills momentum and prevents you from finishing tracks.
Separate your workflow into stages. During the production stage, focus on writing, arranging, and selecting sounds. Don’t worry about polishing. Your goal should be to capture inspiration and solidify the musical idea.
Once the arrangement is complete, then enter the mixing phase. Now you can pay attention to EQ, compression, volume balance, automation, and effects. Mixing requires a different mindset—more analytical and less emotional—so doing both at once clouds your decision-making.
This separation doesn’t need to be a strict rule. You may always have to go back to recording vocals or an analog sound for something you realized is missing, but overall, having a structured workflow helps you finish more music.
Finished tracks—good or bad—teach you exponentially more than half-finished loops.
10. Finish Tracks Regularly, Seek Feedback, and Improve From It

The last and most important tip for beginners is simple: finish music. Nothing accelerates your growth more than completing full songs. When you finish a track, you learn about arrangement, transitions, mixing, mastering, and creative decision-making. When you abandon ideas halfway, you only practice the easiest part of production—the loop.
Finishing music builds discipline. It forces you to push through the difficult middle stage where doubt creeps in. It teaches you that every track hits a point where you’re unsure whether it’s good, and the only way to know is to complete it and receive constructive criticism for it.
Don't be afraid to post your work in online communities for advice. Some of your favorite artists likely had to take years of criticism before they made some of your favorite songs.
If you're a beginner, nothing will help you master the basic guidelines, hone your technical skills, and build a solid foundation more than receiving feedback from more experienced artists. Learning from your mistakes speeds up the learning curve, but someone transferring all their knowledge and experience gathered from years of their own mistakes will propel your progress even faster.
Final Words
That covers our music production tips guide. We hope that what you learned today will help you produce music more easily and with a lot of confidence, and if it does, we'd be more than happy to have helped!
Keep in mind that perfecting the art of music crafting took experienced producers who are successful in the music business a lot of time, trial and error, and investing in everything connected to the process. So, take it slow, improve constantly, learn from your mistakes, and don't get disappointed if your first track doesn't go viral upon release. Wonders happen when you least expect them.
We wish you the best of luck and thank you for reading!